Une des questions les plus courantes lors de l'apprentissage des injections intradermiques est : "Quel est l'angle d'injection correct ?" Que vous vous entraîniez pour l'école de soins infirmiers, que vous vous prépariez à un examen de compétences cliniques ou que vous souhaitiez rafraîchir votre technique d'injection, utiliser le bon angle d'aiguille est essentiel pour une injection intradermique réussie.
Contrairement aux injections sous-cutanées ou intramusculaires, une injection intradermique doit être administrée dans la fine couche dermique juste sous la peau. Même un léger changement d'angle d'aiguille peut entraîner l'entrée du médicament dans le mauvais tissu, ce qui peut entraîner un wheal échoué, des résultats de test inexacts ou une efficacité réduite de la procédure.
Dans cet article, vous apprendrez l'angle d'injection intradermique recommandé, pourquoi il est important, comment réaliser la technique correctement et les erreurs courantes que les débutants devraient éviter.
Quel est l'angle d'injection intradermique correct ?
L'angle d'injection intradermique recommandé se situe entre 5 et 15 degrés, avec le biseau de l'aiguille orienté vers le haut. L'aiguille doit être insérée presque parallèlement à la peau afin que la pointe n'entre que dans le derme sans atteindre le tissu sous-cutané sous-jacent.
Dans la plupart des cas, seul le biseau de l'aiguille doit être inséré sous la peau. Avancer l'aiguille trop profondément augmente le risque d'injecter dans le tissu adipeux, ce qui peut affecter les tests diagnostiques ou l'absorption des médicaments.
Pourquoi l'angle est-il seulement de 5 à 15 degrés ?
Contrairement aux muscles ou aux tissus sous-cutanés, le derme n'a que quelques millimètres d'épaisseur. Un angle d'insertion peu profond permet à l'aiguille de rester dans cette fine couche. Si l'angle est trop raide, l'aiguille passera rapidement à travers le derme et entrera dans le tissu sous-cutané à la place.
Utiliser le bon angle aide à créer un petit wheal surélevé, qui est l'un des signes les plus clairs que le médicament a été administré dans la bonne couche de tissu.
La vidéo suivante démontre l'angle d'injection intradermique correct et montre comment un wheal se forme lors d'un test cutané simulé. Cet exemple visuel peut aider les apprenants à mieux comprendre le positionnement de l'aiguille, la profondeur d'insertion et le résultat attendu d'une injection intradermique réussie.
Comment savez-vous que l'angle était correct ?
L'un des moyens les plus simples de confirmer une injection intradermique réussie est la formation d'un wheal, également appelé bleb. Cette petite bosse surélevée indique que le médicament a été déposé dans le derme plutôt que sous celui-ci.
Si aucun wheal n'apparaît, l'injection peut avoir été trop profonde, trop superficielle ou réalisée à un angle incorrect.
Que se passe-t-il si l'angle d'injection est incorrect ?
Une aiguille insérée à un angle supérieur à 15 degrés peut entrer dans le tissu sous-cutané au lieu du derme. Cela peut entraîner des résultats de test cutané de tuberculose inexacts ou une efficacité réduite de certains médicaments et vaccins.
Inversement, insérer l'aiguille trop près de la surface de la peau peut provoquer des fuites de médicament et empêcher une administration correcte dans le derme.
Erreurs courantes que les débutants commettent généralement
Bien que l'angle d'injection intradermique correct soit important, les débutants commettent souvent des erreurs qui peuvent affecter l'exactitude de la procédure. Comprendre ces erreurs courantes peut aider à améliorer la technique d'injection et la cohérence.
Les erreurs courantes incluent :
- Insérer l'aiguille trop profondément : L'aiguille peut passer à travers le derme et entrer dans le tissu sous-cutané, entraînant l'absence de formation de wheal ou des résultats de test inexacts.
- Utiliser un angle d'injection raide : Un angle plus grand augmente le risque de pénétrer trop profondément et d'échouer à administrer le médicament dans la couche dermique.
- Tenir le biseau vers le bas : Un positionnement incorrect du biseau peut rendre l'insertion de l'aiguille plus difficile et affecter le placement correct du médicament.
- Injecter trop rapidement : Une injection rapide peut empêcher la formation correcte du wheal et augmenter le risque de fuite de médicament.
- Ne pas étirer la peau avant l'insertion : Une peau lâche peut rendre plus difficile le maintien de l'angle correct et l'obtention de résultats cohérents.
Conseils pour pratiquer le bon angle d'injection intradermique
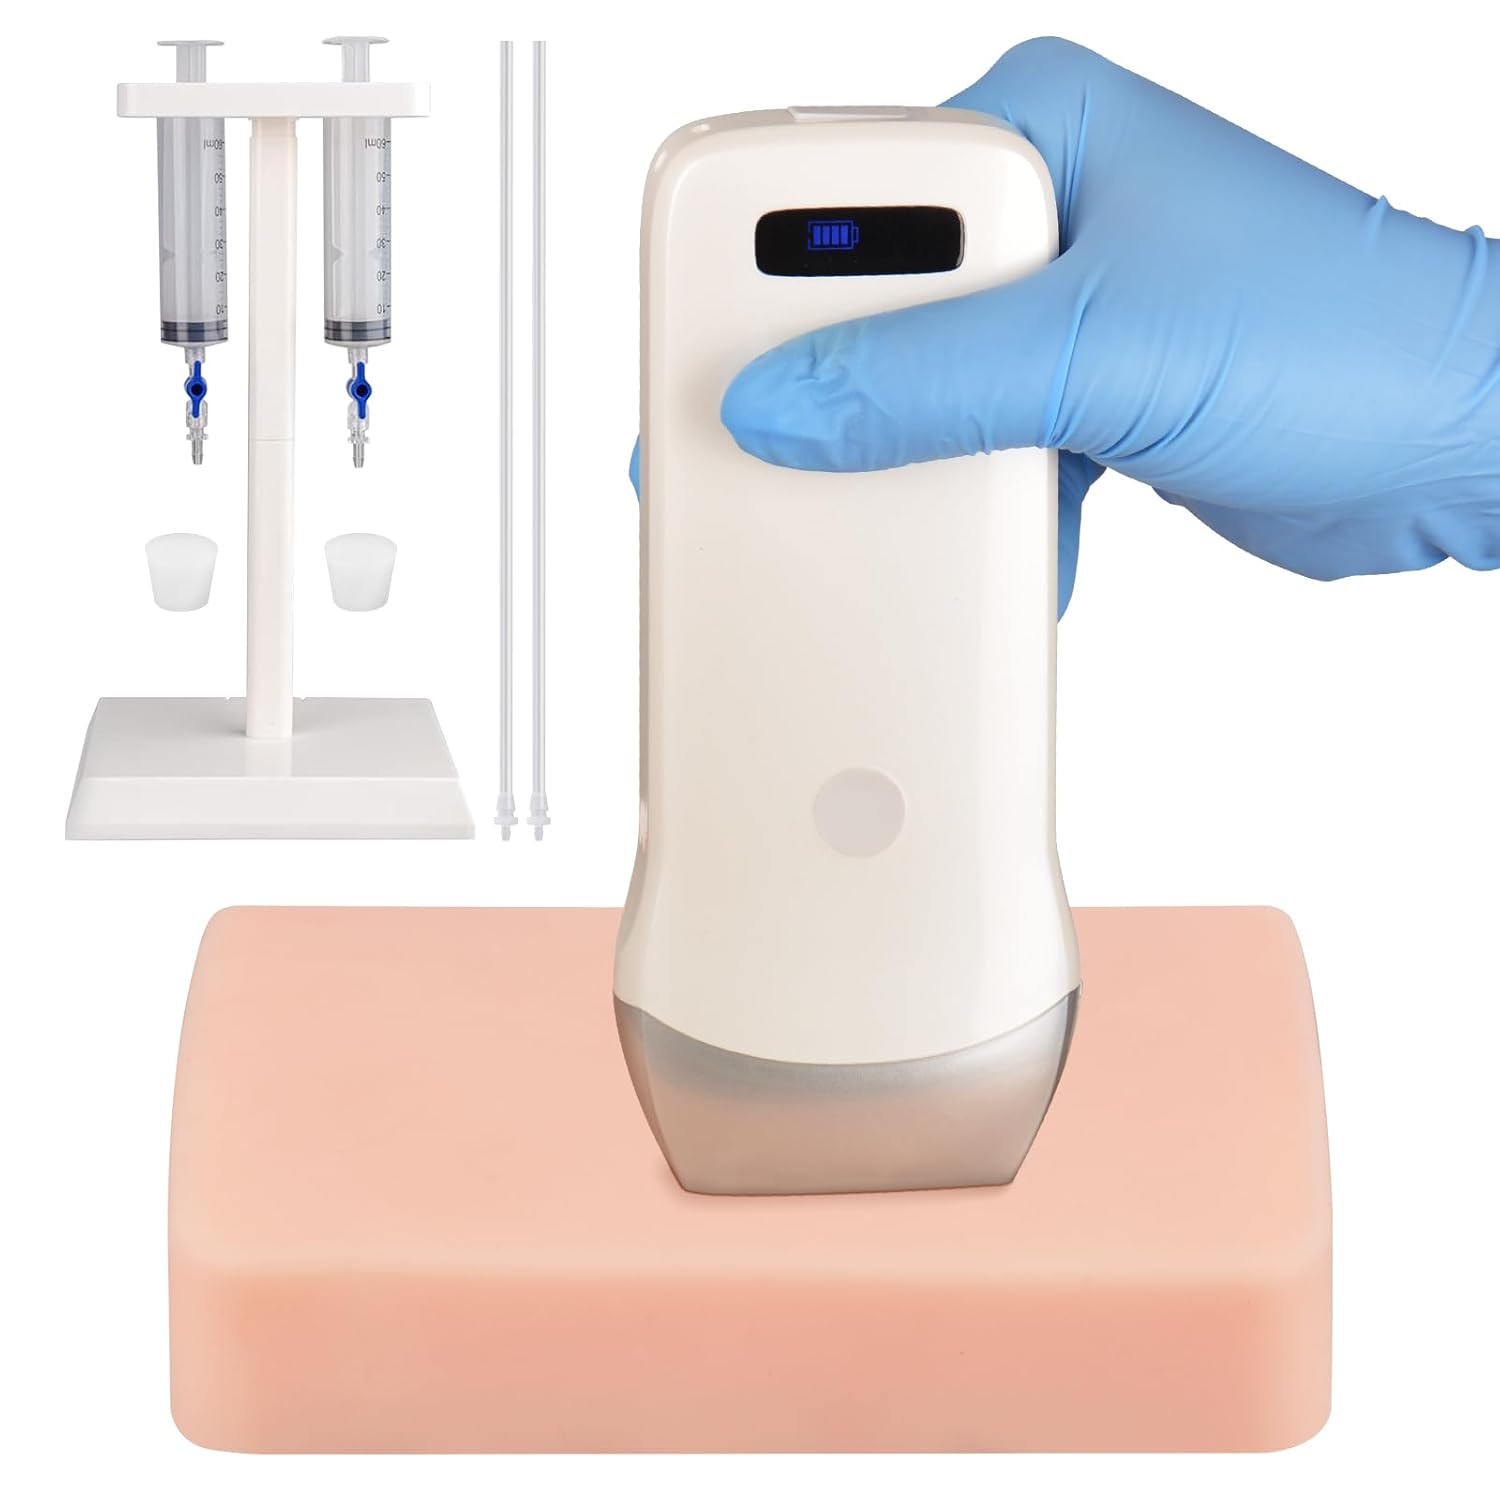
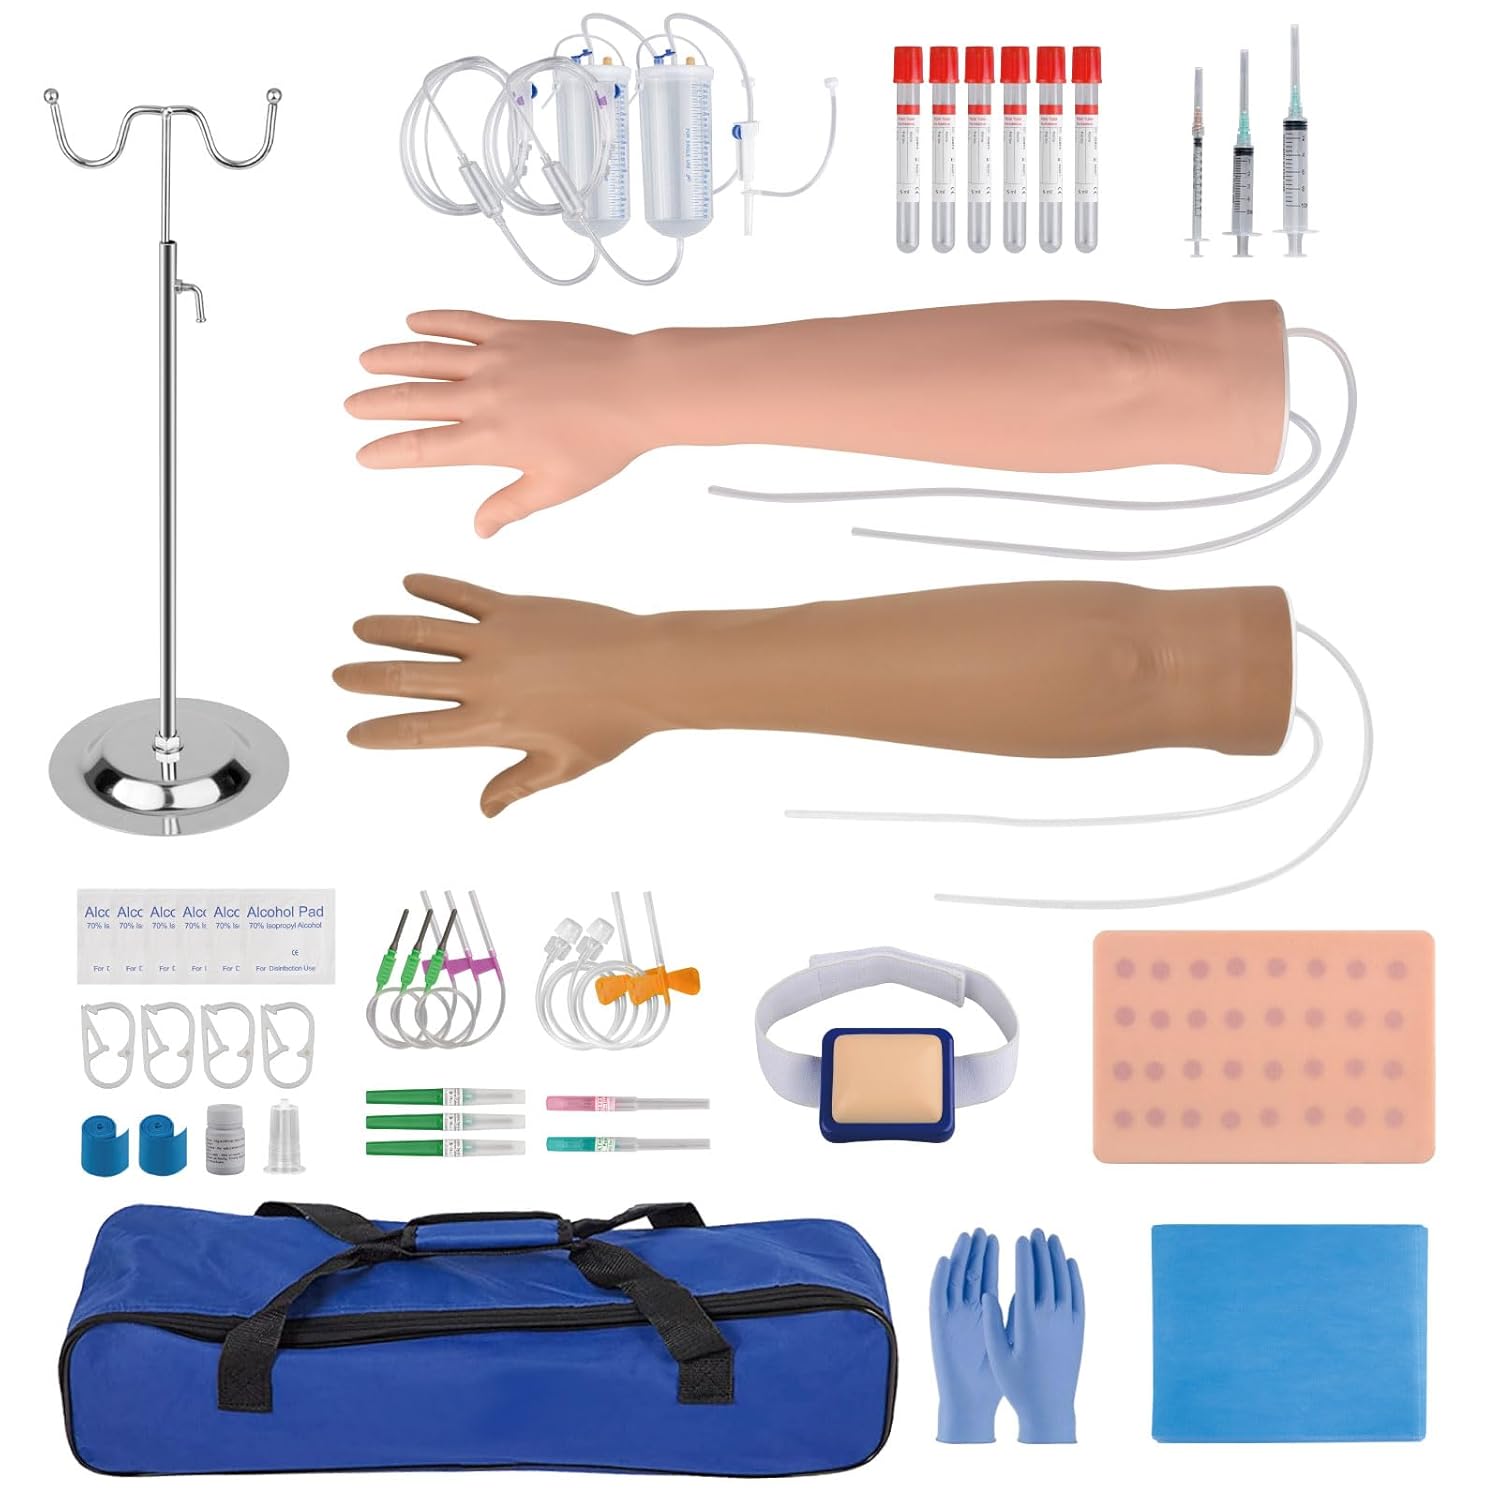
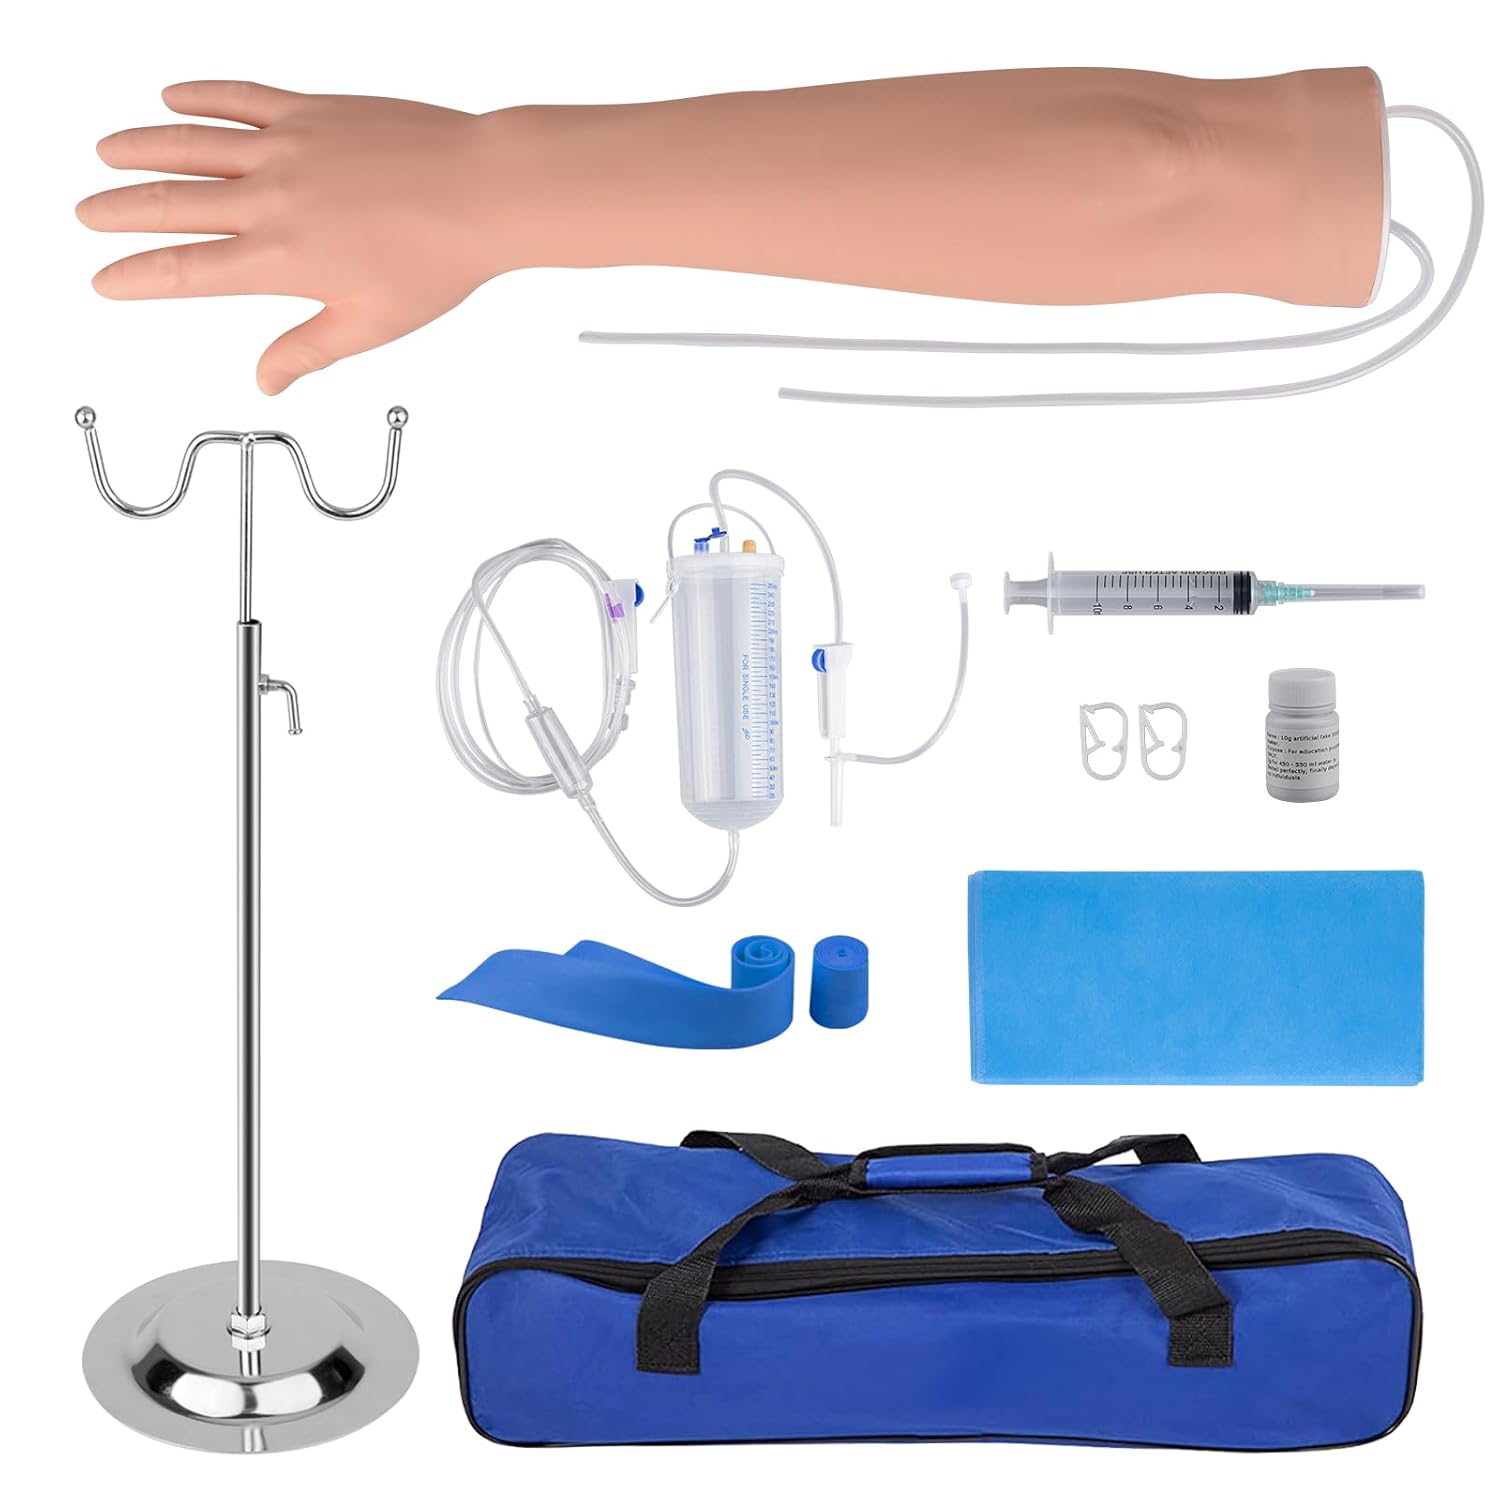
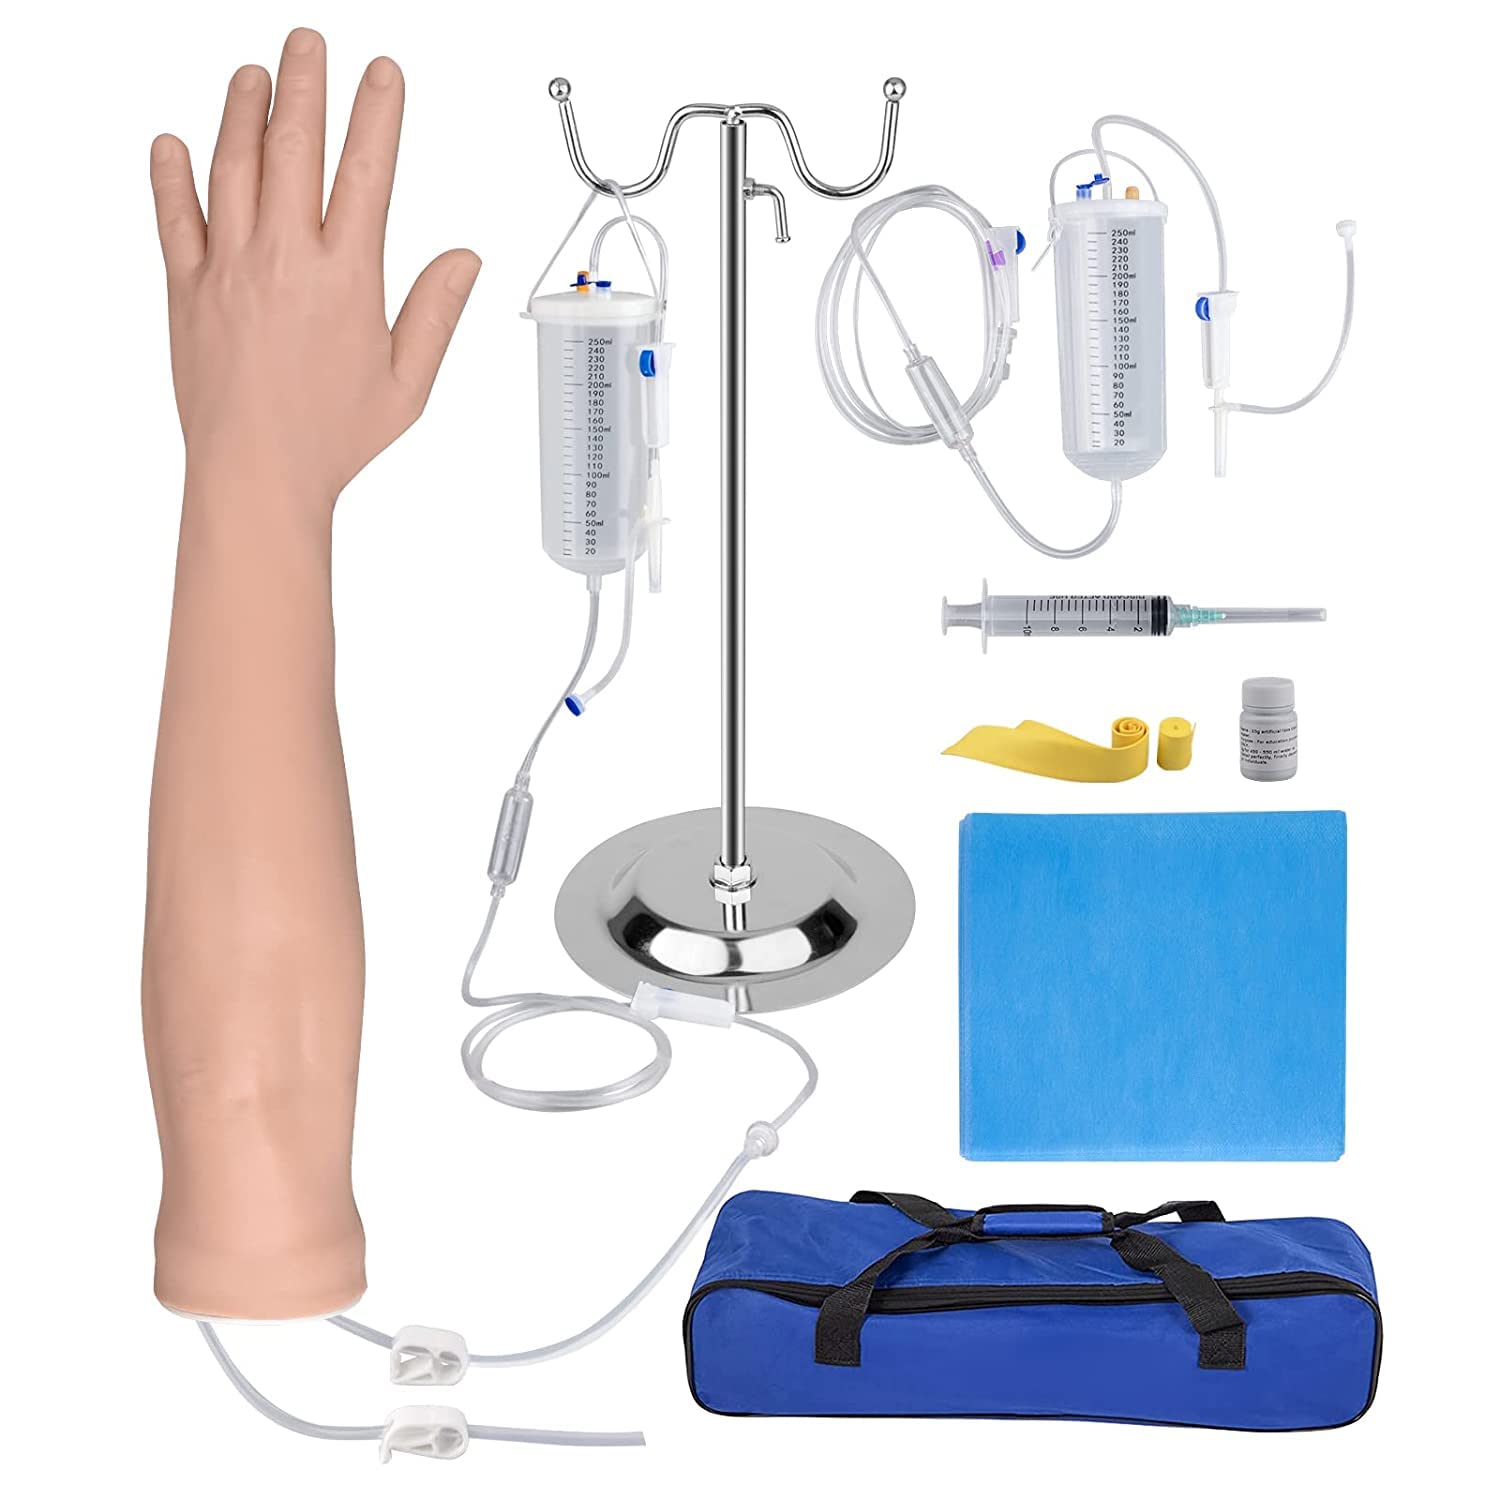
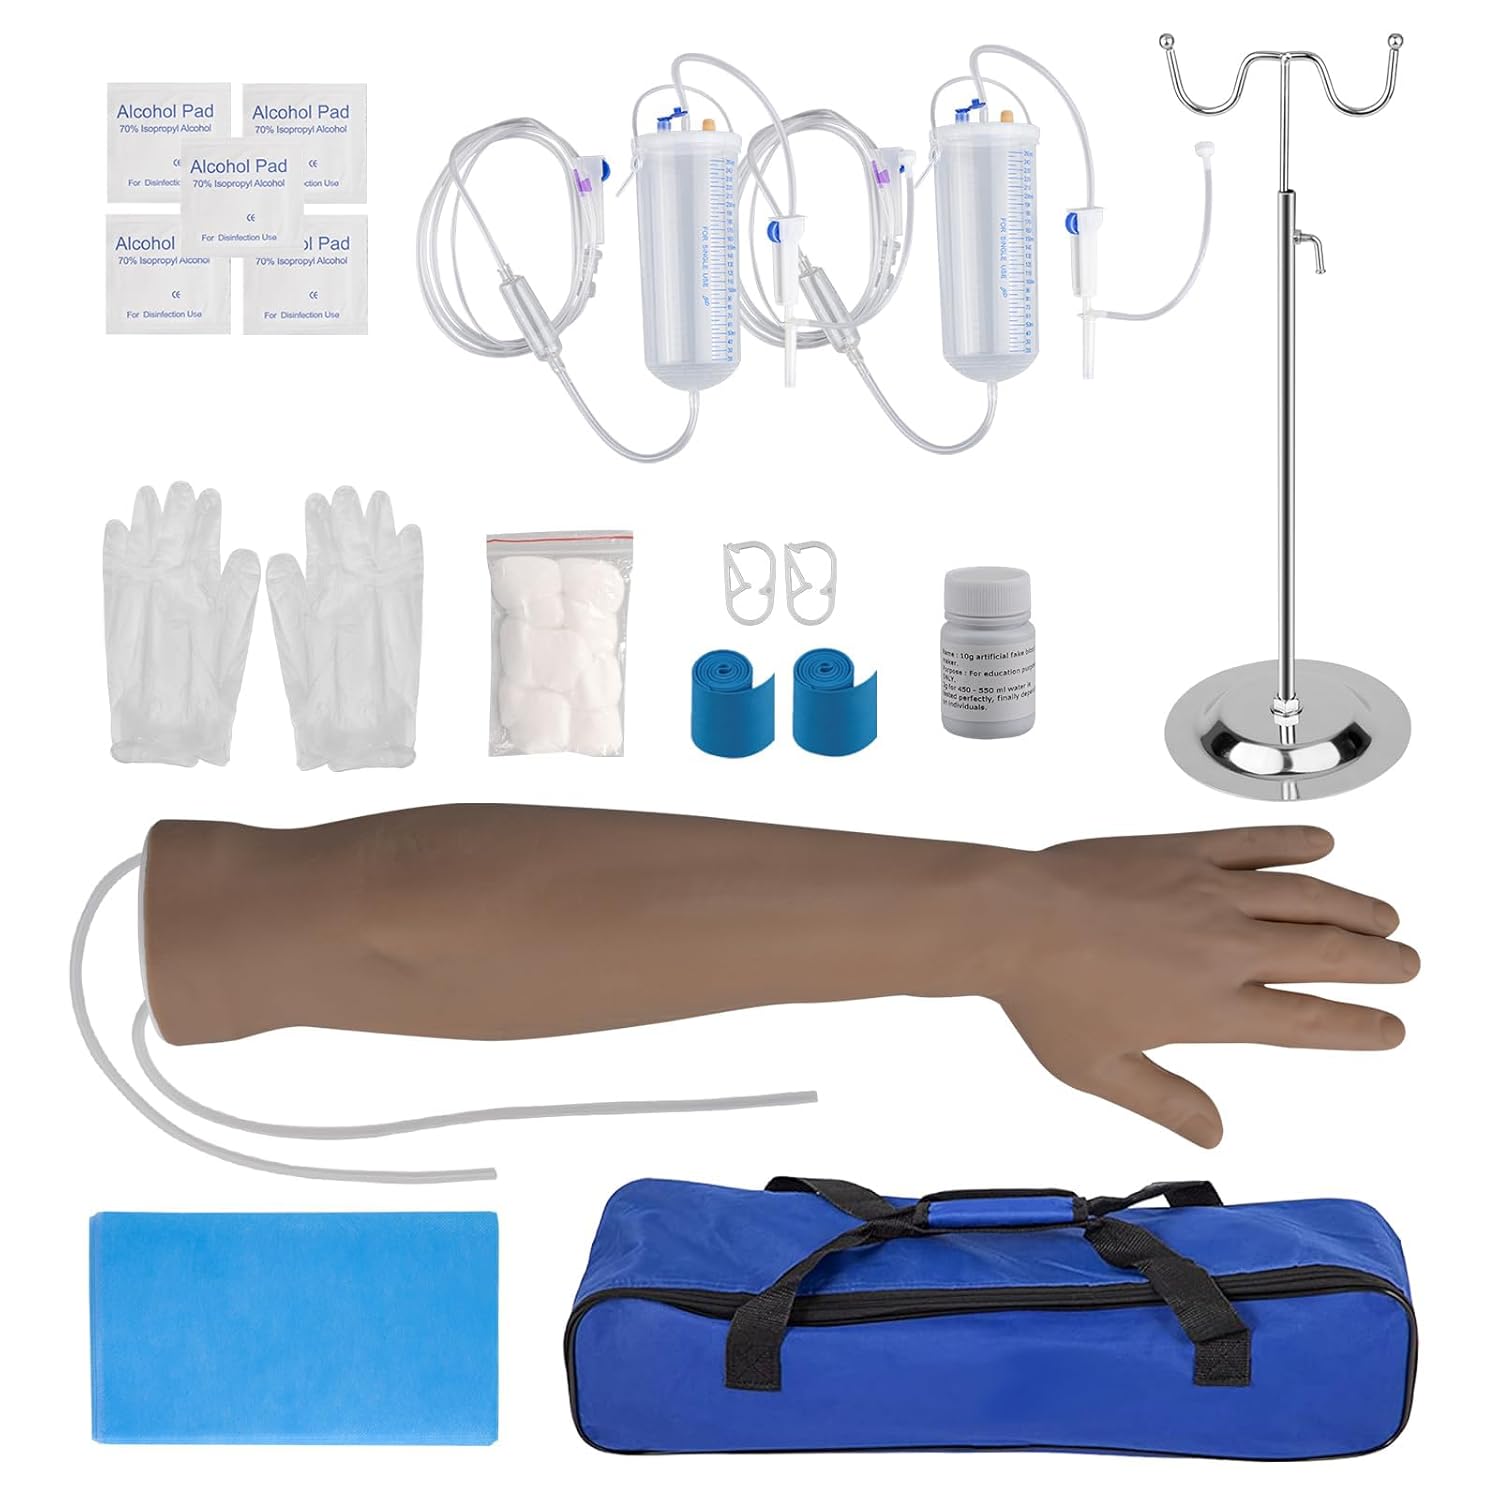
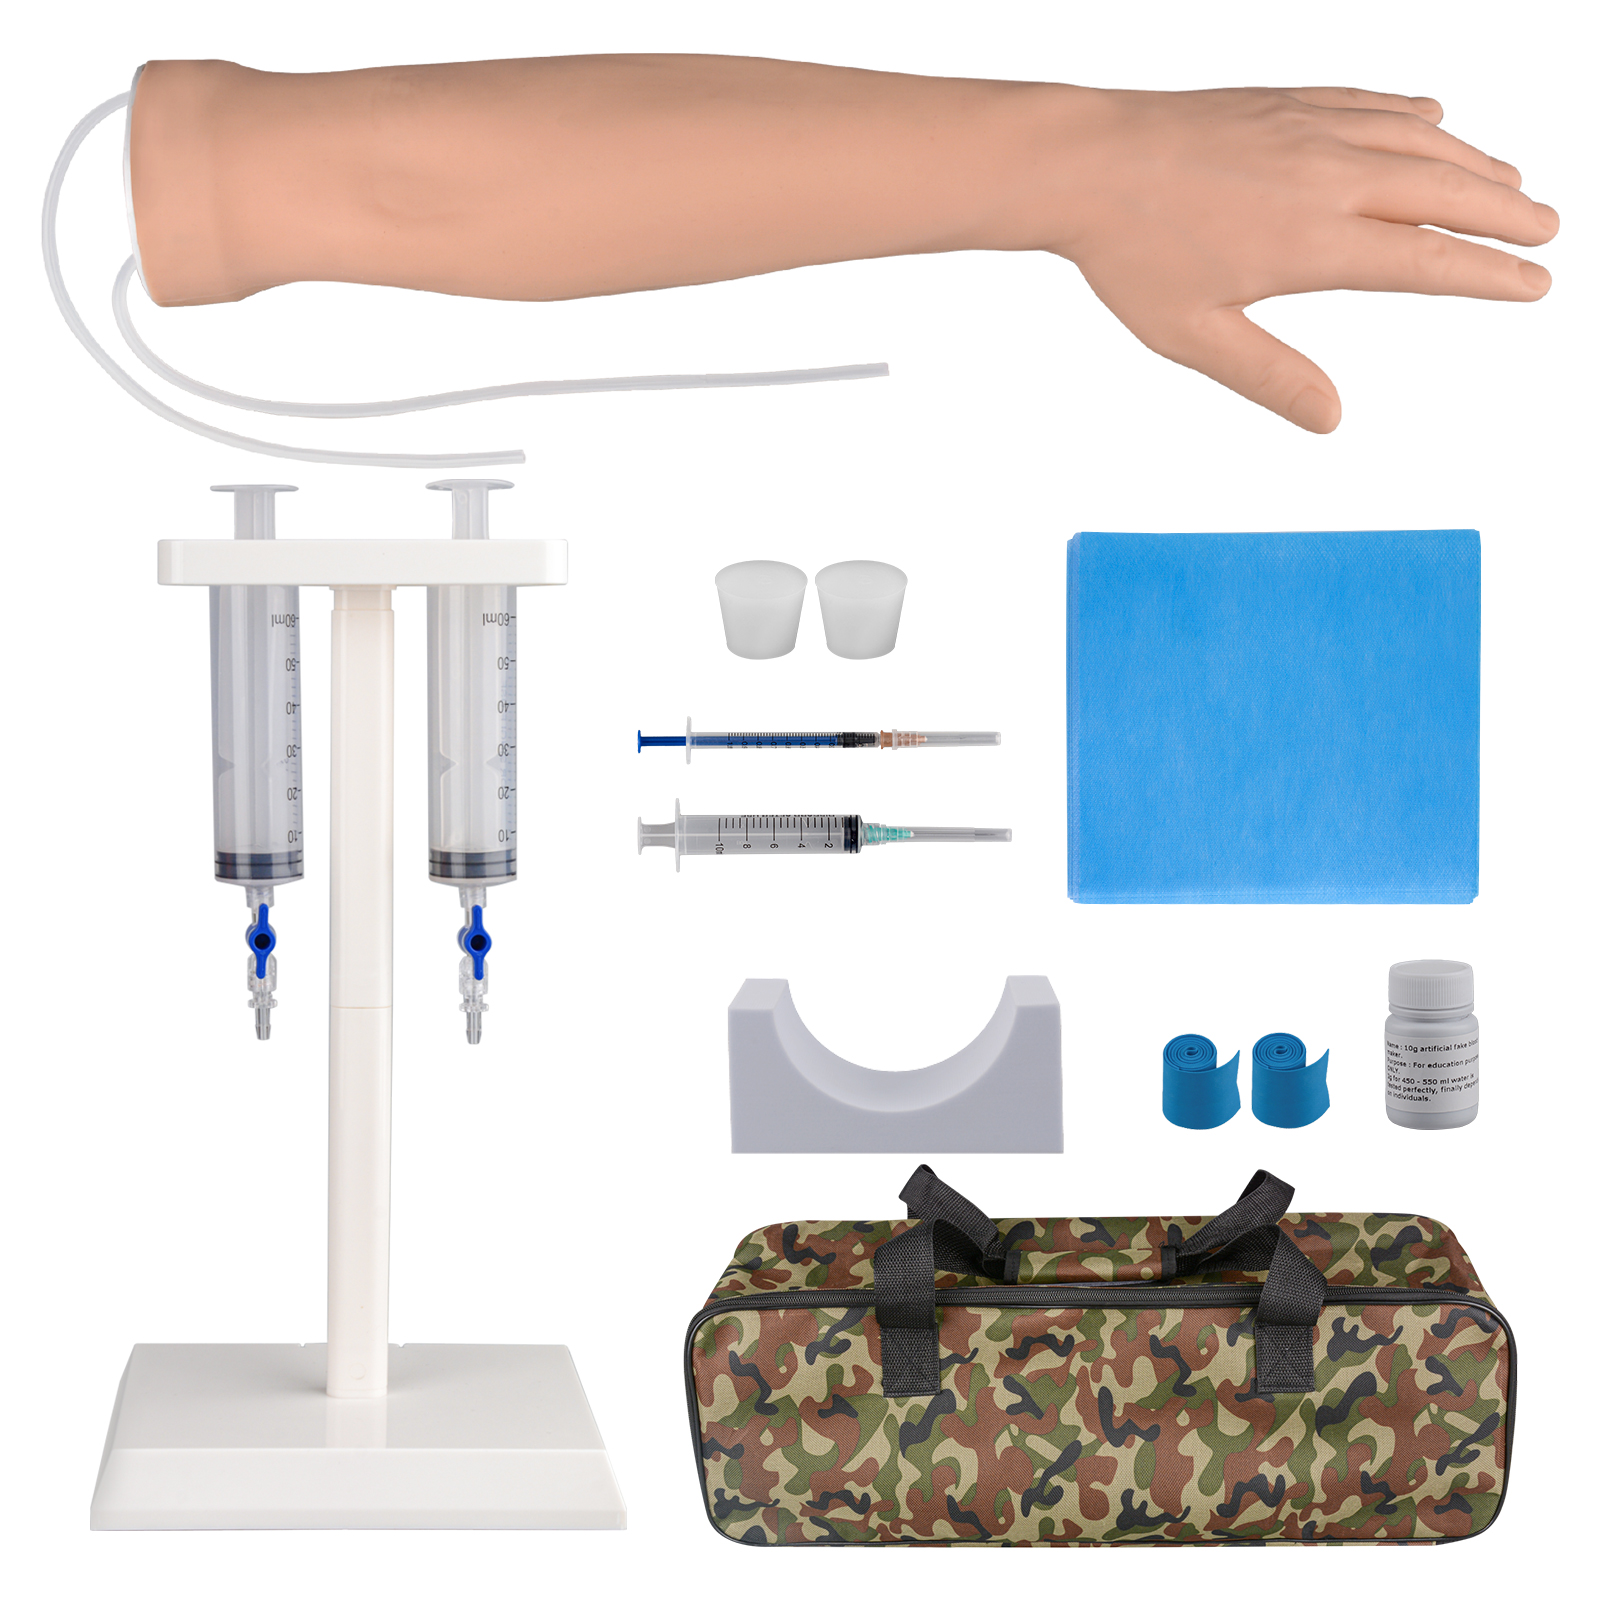
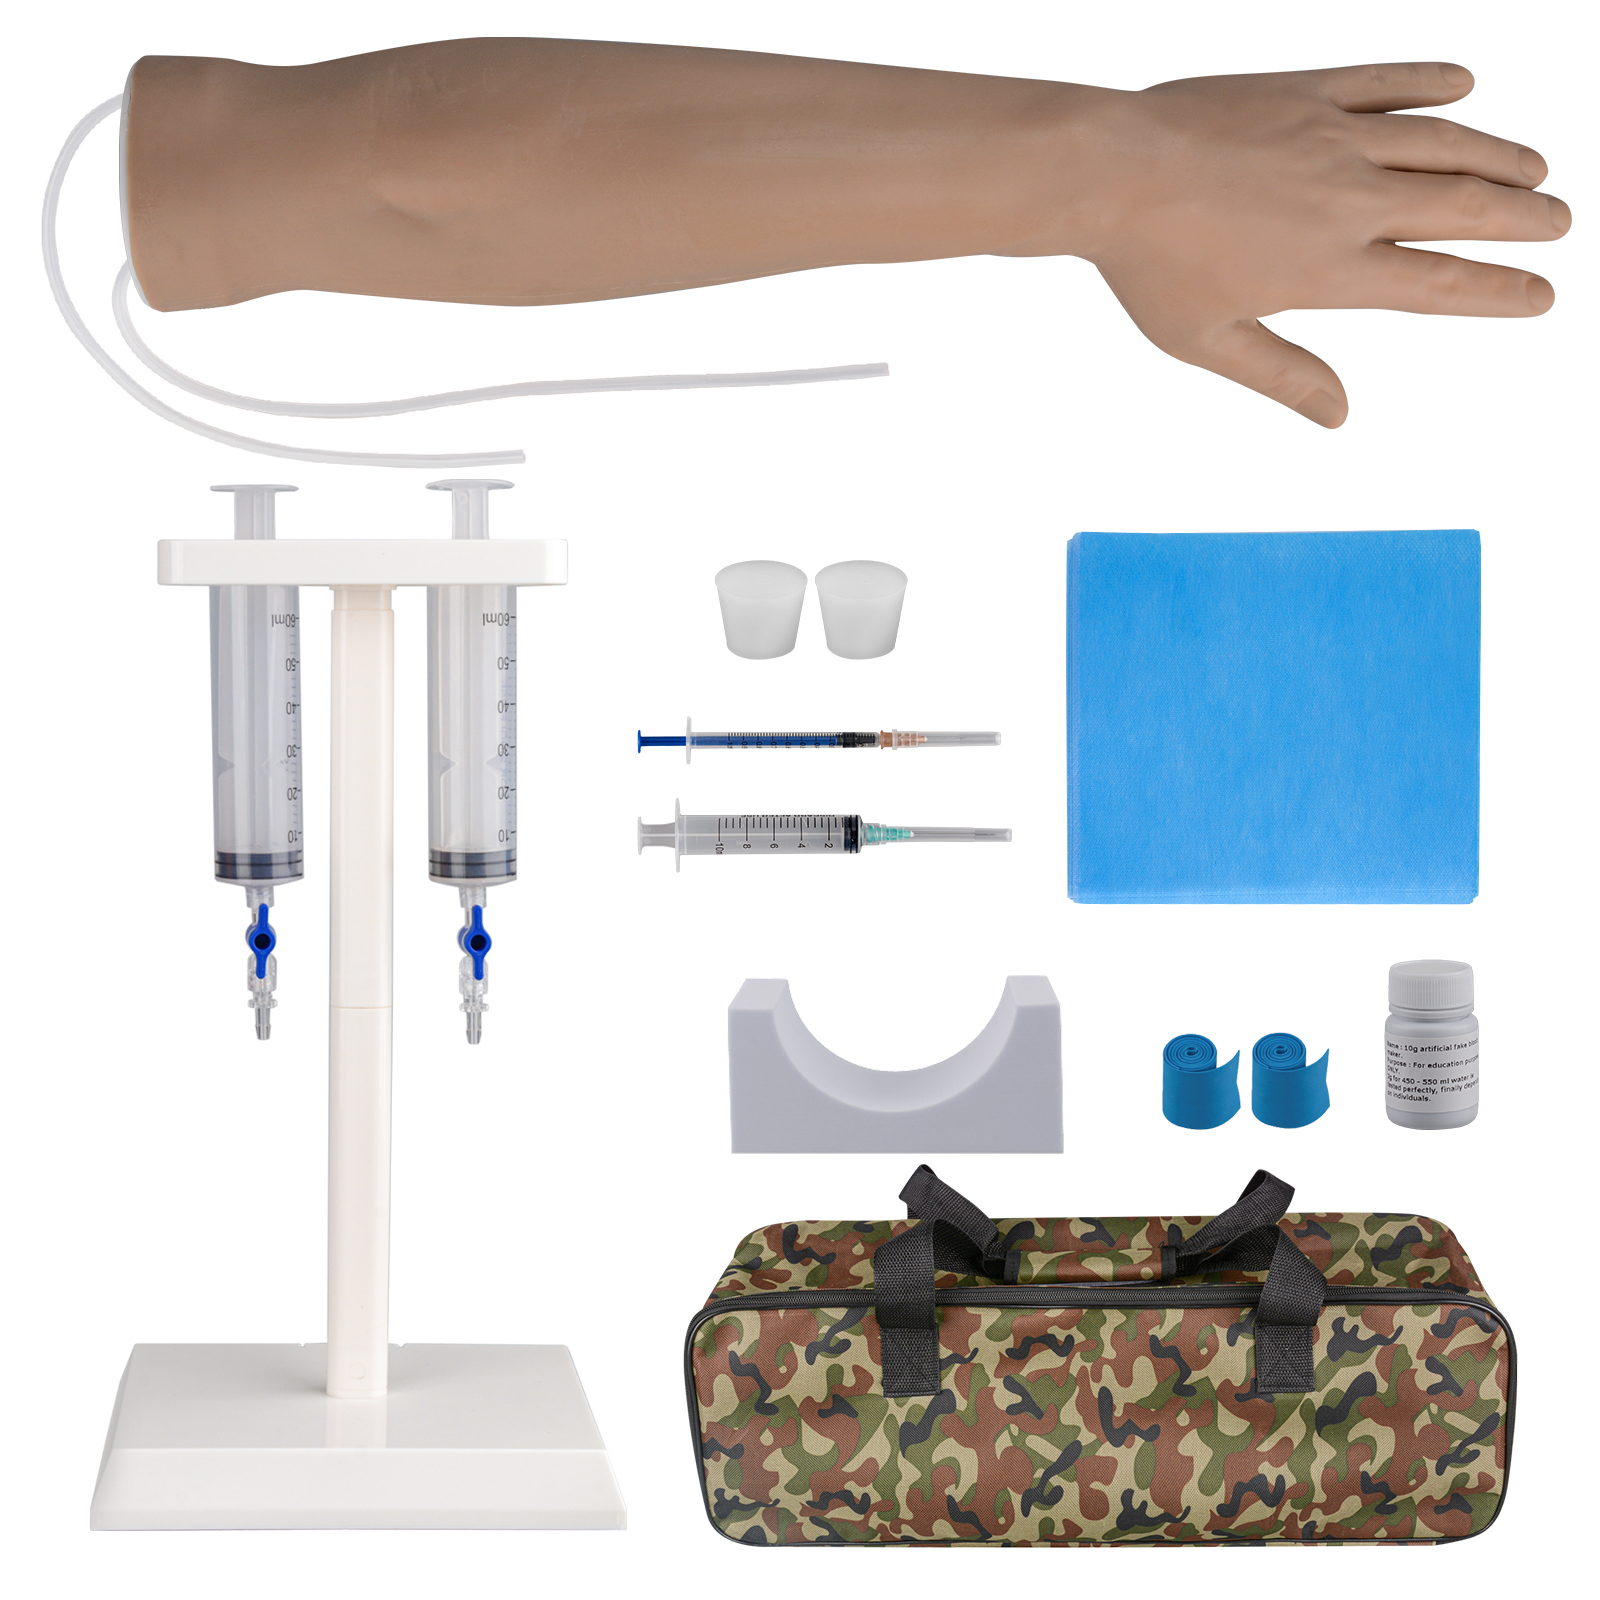
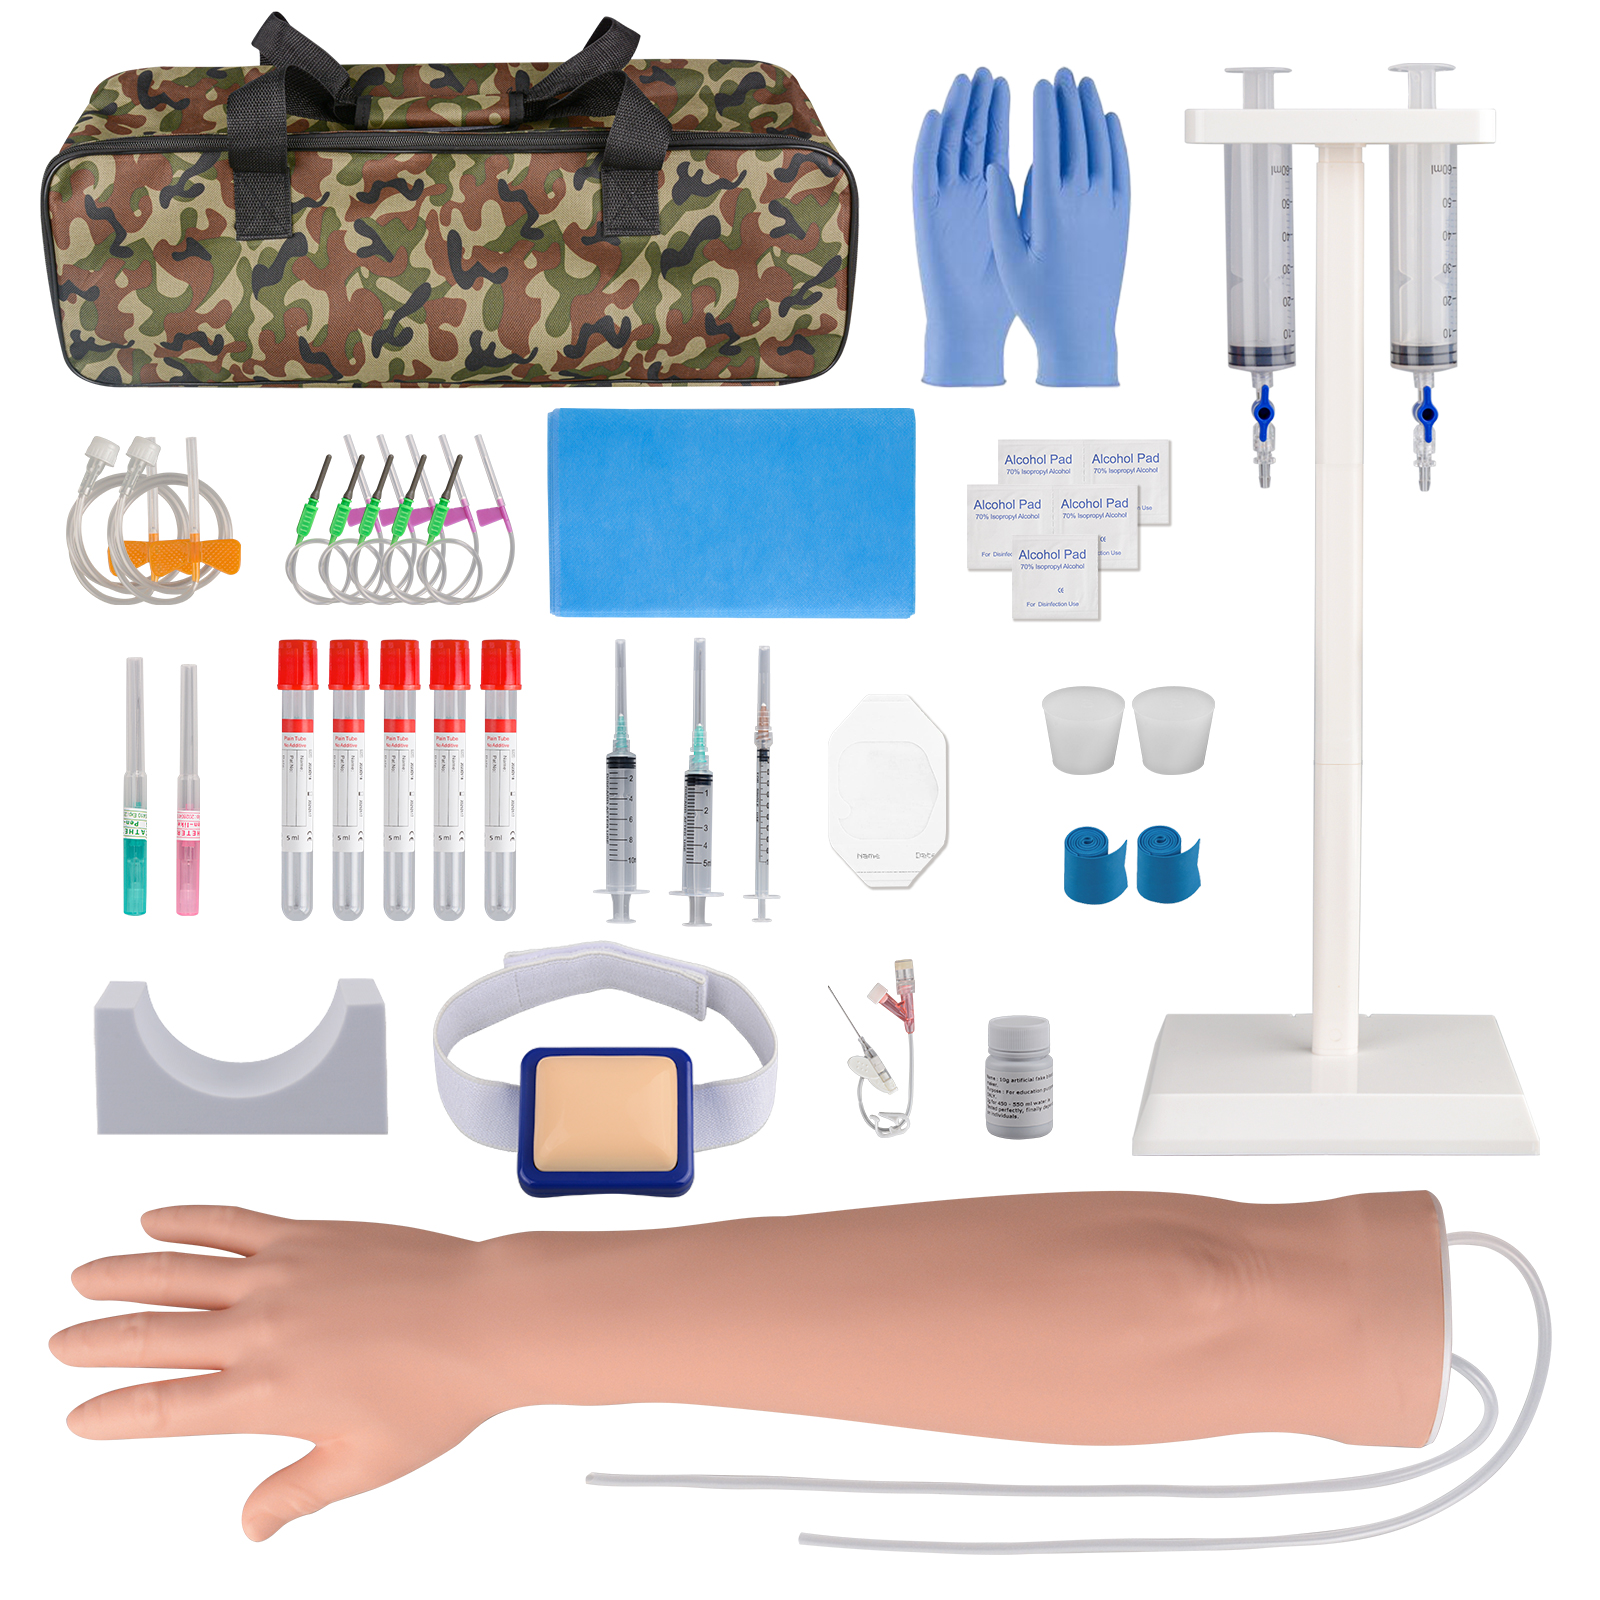
Développer le bon angle d'injection nécessite de la pratique. De nombreux programmes de soins infirmiers et centres de simulation utilisent des entraîneurs d'injection intradermique réutilisables qui imitent la résistance et la sensation de la vraie peau. S'exercer sur un modèle d'entraînement permet aux apprenants de développer une mémoire musculaire, d'améliorer le contrôle de l'aiguille et de gagner en confiance avant de réaliser des injections sur des patients.
- 12 points de pad d'injection intradermique
- Pad d'injection intradermique 3-en-1
- Modèle de main d'injection intradermique
......
Résumé
Maîtriser l'angle d'injection intradermique peut sembler difficile au début, surtout pour les débutants qui apprennent à contrôler la profondeur de l'aiguille, à maintenir la bonne position et à créer un wheal approprié. N'oubliez pas que l'obtention de résultats cohérents nécessite de la pratique — même de petits ajustements dans l'angle, la position de la main et la technique d'injection peuvent faire une différence.
La clé d'une injection intradermique réussie n'est pas seulement de se souvenir de l'angle de 5 à 15 degrés, mais de comprendre comment chaque étape fonctionne ensemble, de la préparation de la peau et du placement de l'aiguille à l'administration du médicament et à la formation du wheal.
Avec une pratique répétée et une formation appropriée, les apprenants peuvent progressivement gagner en confiance et développer les compétences nécessaires pour réaliser des injections intradermiques avec précision et en toute sécurité dans de véritables environnements cliniques. Si vous souhaitez améliorer davantage vos compétences en injection, les kits de pratique d'injection et les pads de pratique d'injection de SimCoach offrent un moyen réaliste et pratique de s'exercer à l'angle de l'aiguille, à la profondeur d'insertion et aux techniques d'injection avant de travailler avec de vrais patients.
.png?w=1672&h=941)